Paxton Hardware & Locations
Paxton Access Control Installation Planning
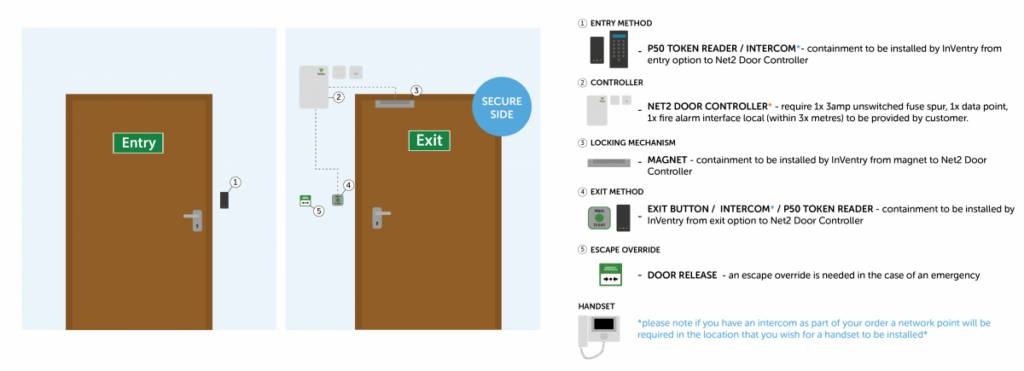
To assist with the planning of your upcoming Paxton Access Control installation, please see the below information that may be of use. Each location as standard will be installed with a controller, a method for both entry & exit, locking mechanism and an emergency break glass. In addition (and extra cost) you may have also purchased an intercom and handset bundle.
Single and Double Door Installation
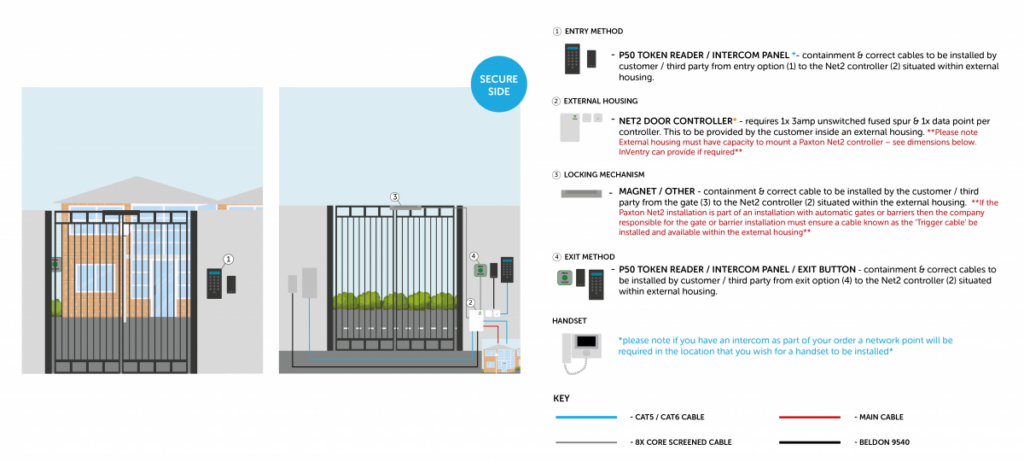
Gate Installation
Speed Gate/Turnstile Installation
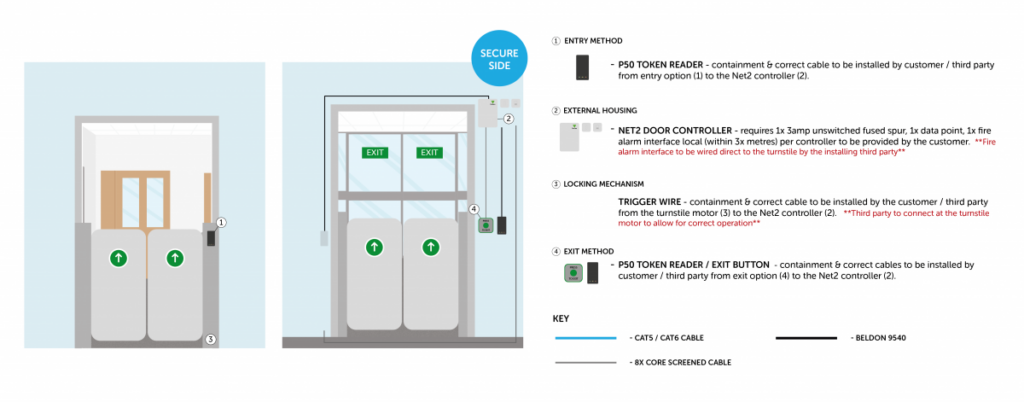
Please note that it’s the customer’s responsibility to ensure that power and data points are installed prior to installation.
Hardware
Paxton Controllers
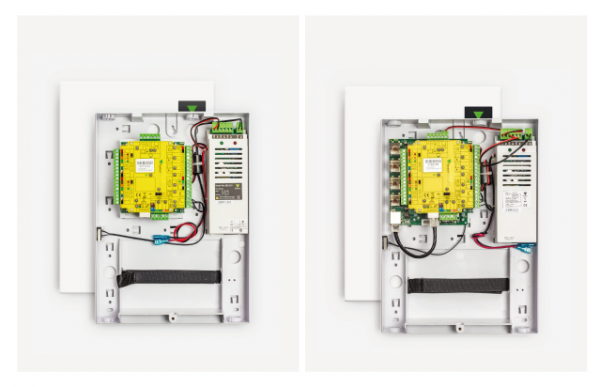
Paxton Controllers – these are typically installed on the ‘secure side’ of a location at ceiling height or inside secure external housing. Requires power and data.
- Click HERE for dimensions.
Token Reader
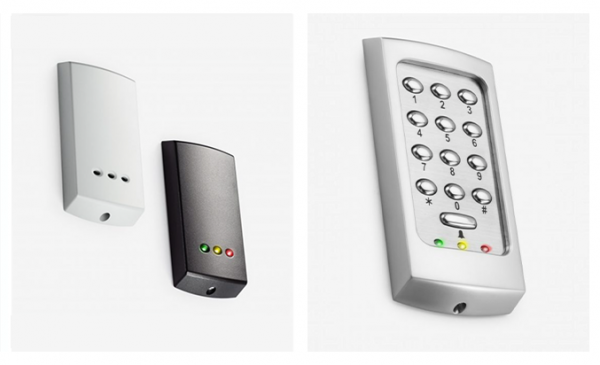
Token Readers – these can be Installed for either entry, exit or both and read as standard mifare cards. These readers Include an LED Indicator to inform you of the status of the door. Typically installed at height 1200mm from the floor. The options for token readers are:
Paxton Intercom Panel
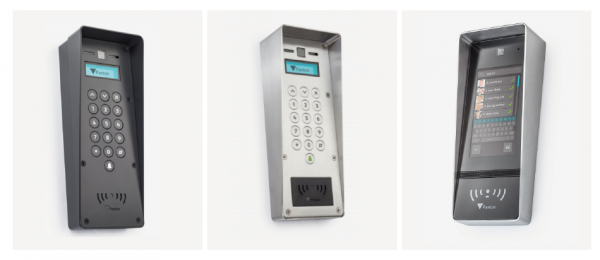
Paxton Intercom Panel – these are typically installed on the external entry point of any door controller and are video, voice and an integrated card reader. The video will be viewable on a compatible handset. Please note the handset will require a live data point with IPV6 network connectivity This requires a live data point with IPV6 network connectivity unless wired direct to the Paxton ACU.
Paxton Intercom Handset
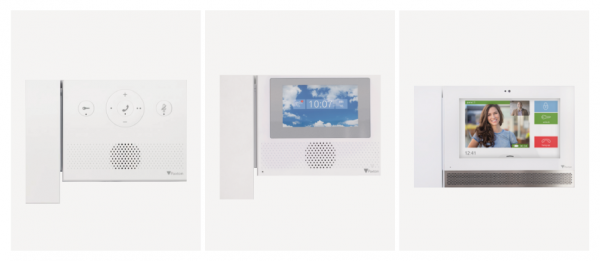
Paxton Intercom Handset – these are typically installed in a reception area setting. This requires a live data point with IPV6 network connectivity unless wired direct to the Paxton ACU.
Locking Mechanisms
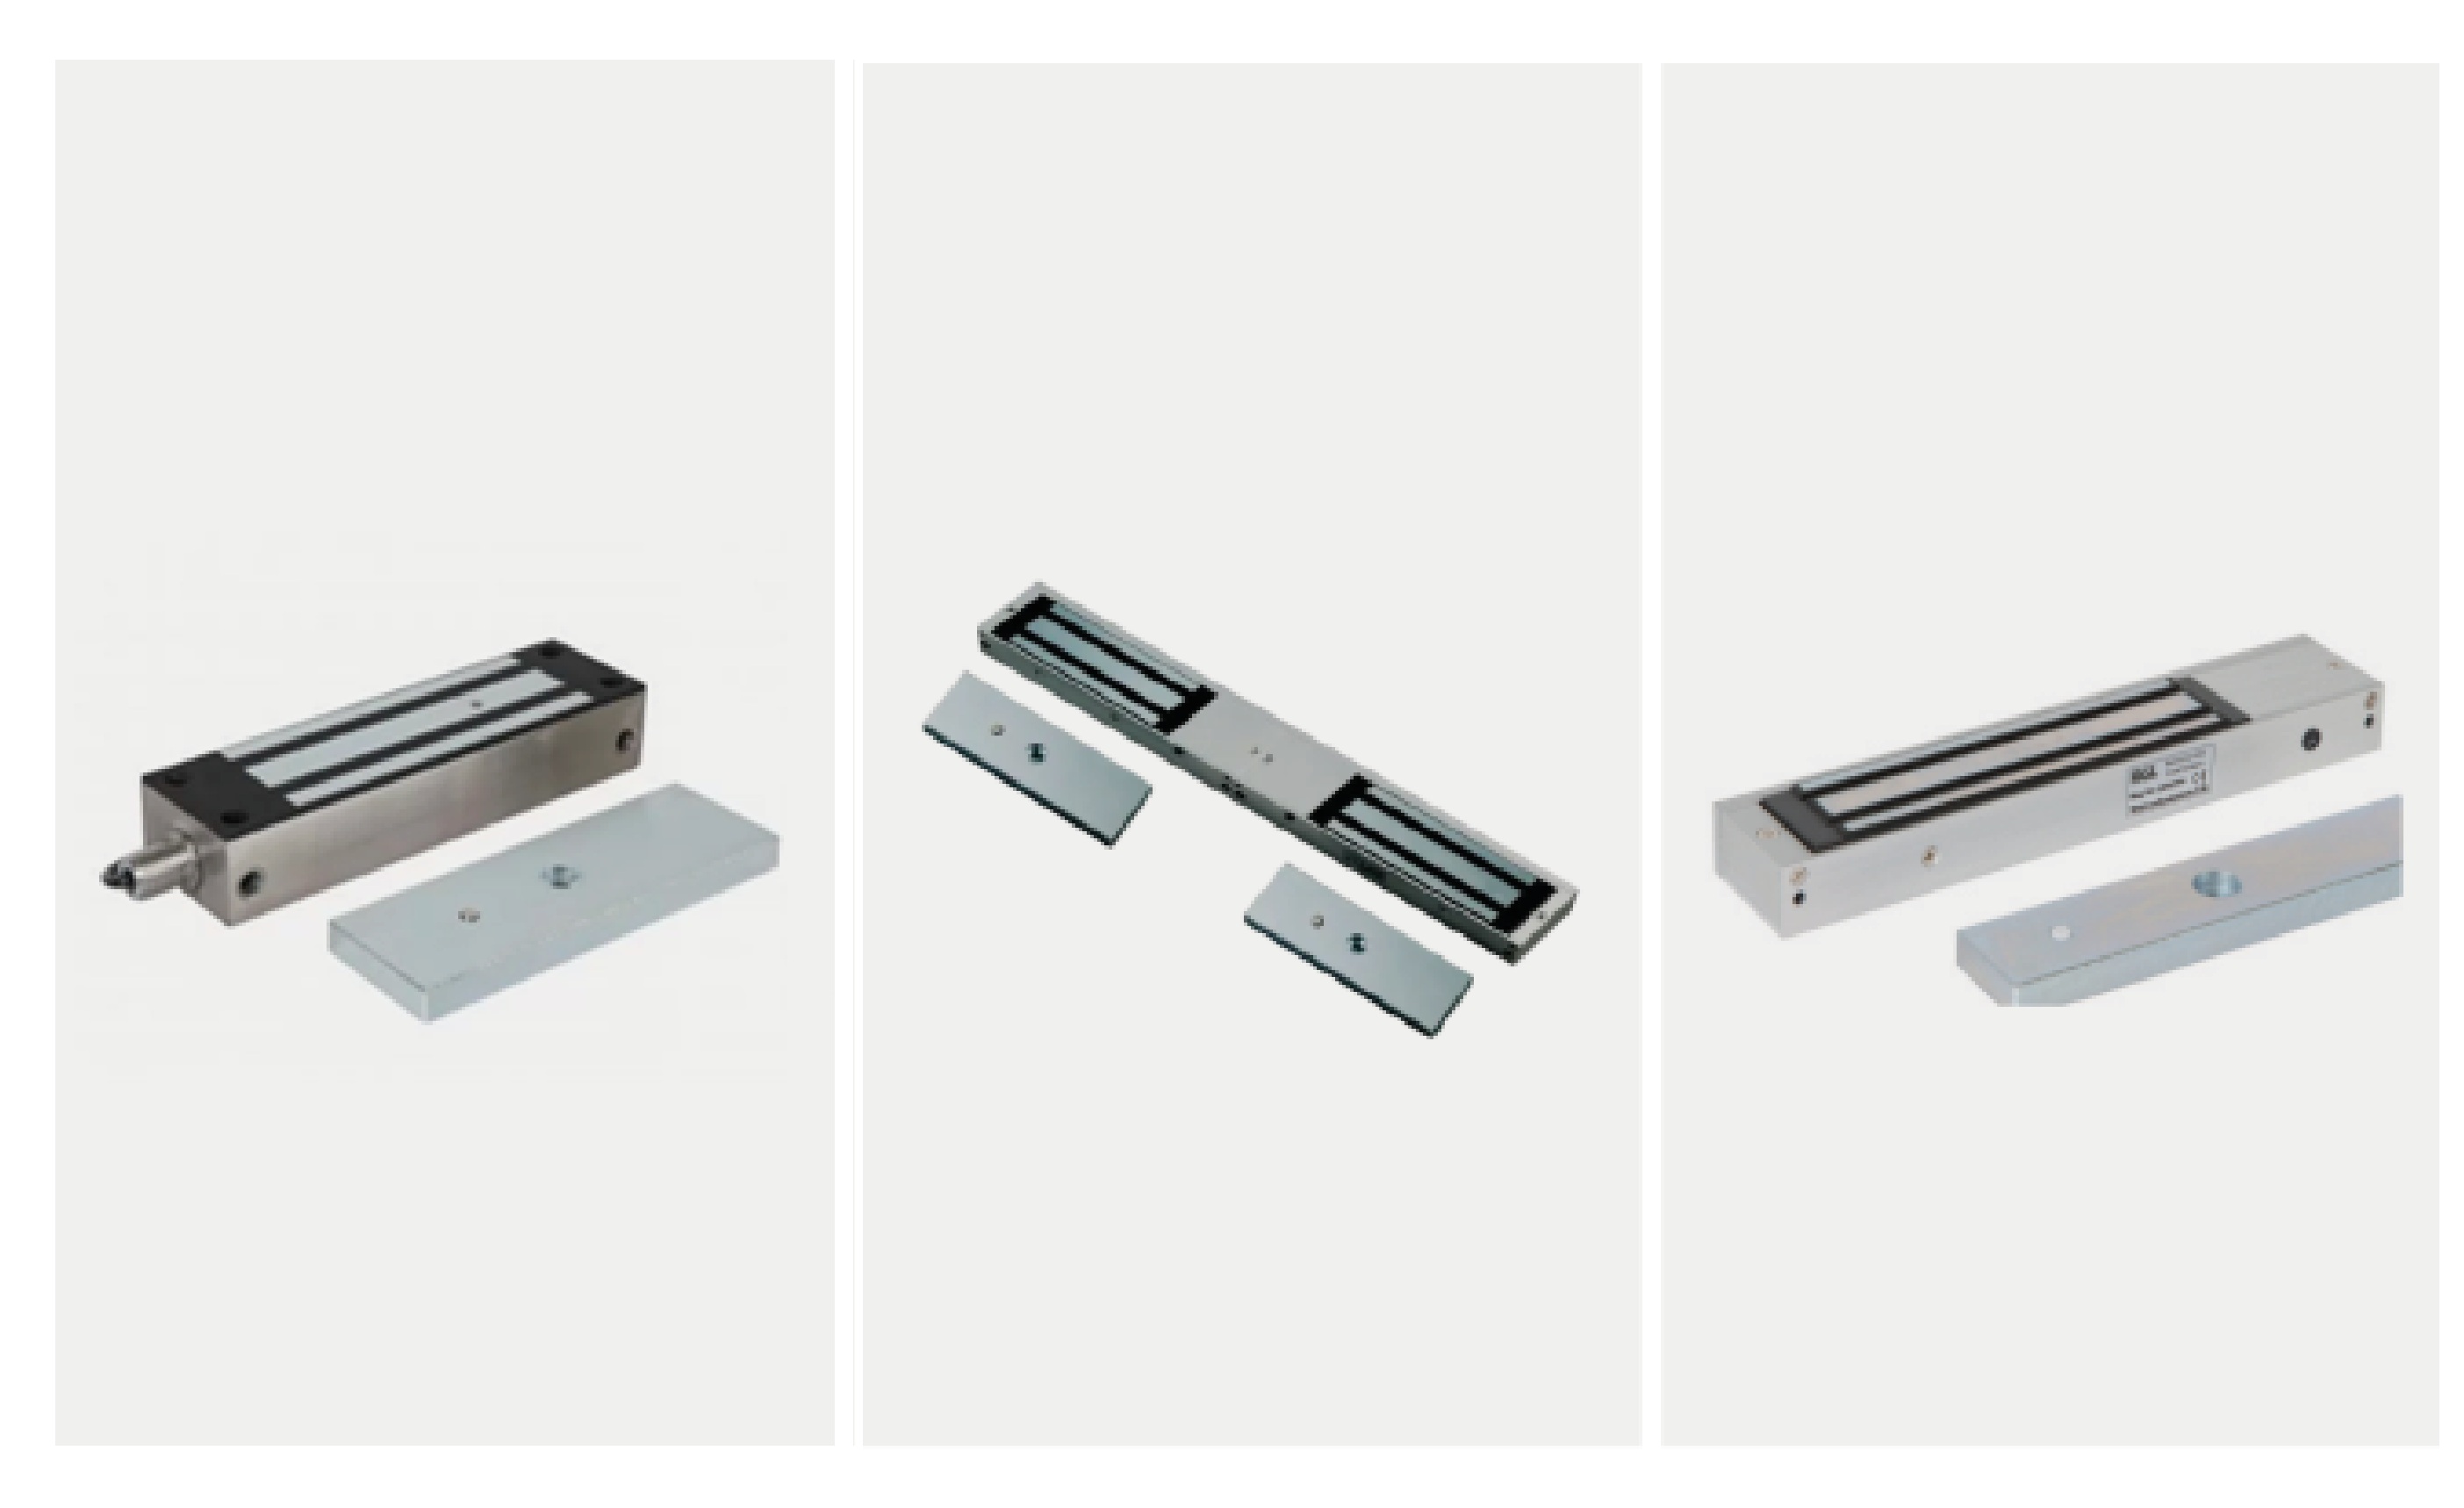
Locking Mechanism – required to secure your premises, the locking mechanism including containment can be installed by InVentry from door/gate to Net2 controller. Please see the following for the options available:
Release Button
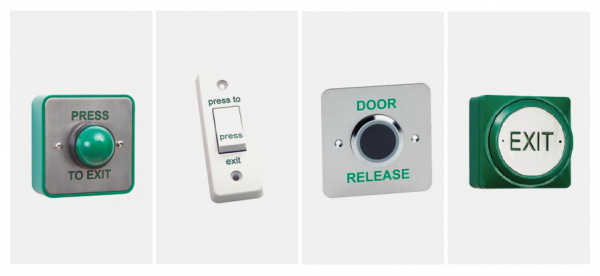
Request to Exit button – these are used to release the locking mechanism for each door controller. Easy-to-clean surface and typically for general/sensitive area.
KeySwitch
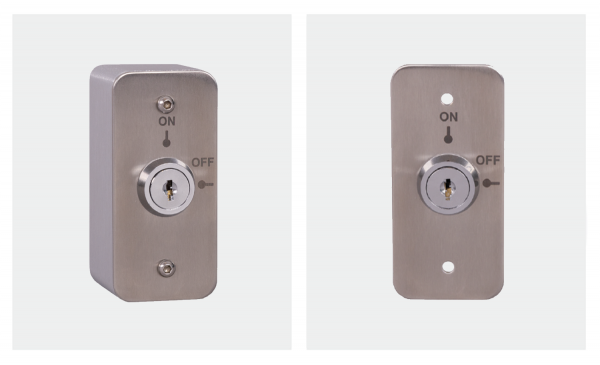
KeySwitch – these can be used for secure override of access control in conjunction with Paxton Net2.
- For more information please click HERE.
Battery
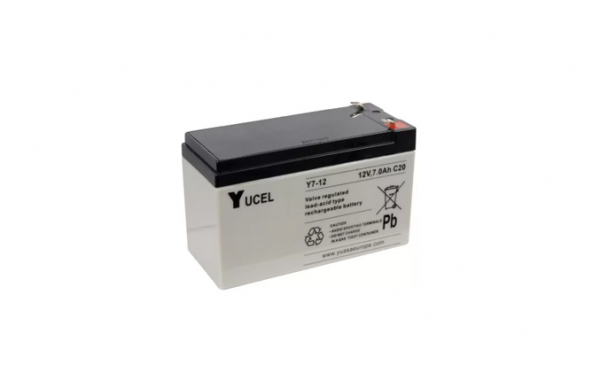
Battery – these are installed as standard and are used in the event of a mains supply failure. These will power a Paxton controller for approximately 7 hours.
- For more information on the battery please click HERE.
Emergency Door Release
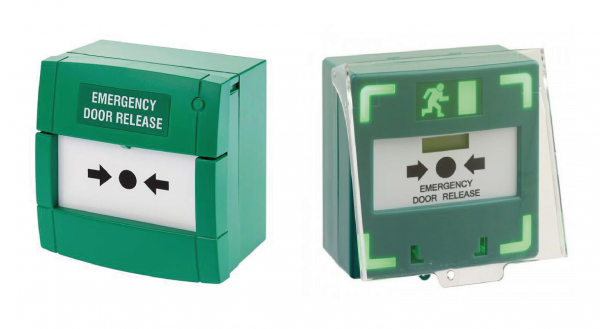
Emergency Door Release– these are installed as standard and used in the event of an emergency where the doors locking mechanism needs to be quickly released.